


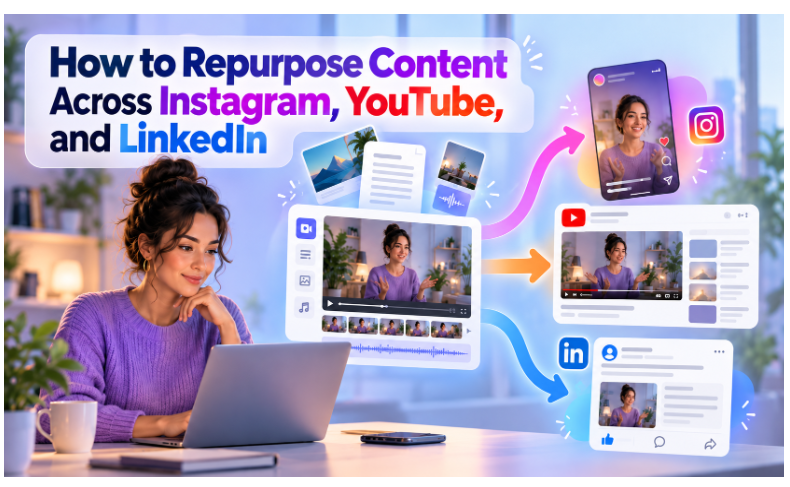
Content repurposing means turning one core piece of content into several formats, each built for a different platform. A single long video can become Instagram Reels, YouTube Shorts, a LinkedIn clip, and a written post. The idea is not to post the same file everywhere. Each platform has its own format, audience, and style, so each version needs its own edit.
Most small brands and marketing teams do not have time to create fresh content for every channel every day. Repurposing solves that problem. You record once, then reshape the same idea into many pieces. Your message reaches more people, and your team spends less time starting from a blank page.
This guide walks through a five-step workflow that Indian brands and small marketing teams can use to get more reach from every video they record. It covers format differences, clip selection, resizing, captions, and scheduling.
What Each Platform Wants From the Same Content
The same idea lands differently on each platform. Knowing the differences up front saves time when you start editing.
Platform | Best format | What works |
Vertical 9:16 Reels | A strong first second, on-screen captions, fast pacing | |
YouTube | 16:9 long-form and vertical Shorts | Searchable titles, clear chapters, depth on one topic |
Native video, vertical or landscape | Professional tone, one clear insight, captions |
Instagram rewards quick, visual clips. People scroll fast, so the first second must give them a reason to stay. Movement, bold text, and a clear promise all help.
YouTube rewards depth and search intent. Viewers often arrive with a specific question. A clear title, a useful description, and well-marked chapters help them find your answer.
LinkedIn rewards a clear point of view. The audience is professional, so a single sharp insight from a real person or brand performs better than a polished but empty clip.
Step 1: Start With One Pillar Video and Cut It Into Clips
Record one long piece of content first. A webinar, a podcast episode, a product walkthrough, or a founder interview all work well. This is your pillar asset, and every other format comes from it.
Choose a topic your audience already cares about. A strong pillar video answers a real question or shares a clear opinion. Weak pillar content produces weak clips, so spend your effort here.
Then pull out the strongest moments. Look for a single tip, a surprising number, a short story, or a direct answer to a common question. Each of these can stand alone as a 30 to 60 second clip.
Cutting is where most teams lose time, so it helps to use an editor built for the job. Invideo Editor runs in the browser, so there is nothing to install. It gives you a full timeline for trimming, cropping, and arranging clips, along with tools for music and audio.
It also lets you edit a video by editing its transcript. You change the text, and the video follows. This makes it quick to find a good sentence and turn it into a standalone clip.
Step 2: Resize Each Clip for Each Platform
A landscape video does not work well as a Reel. Instagram and YouTube Shorts need vertical 9:16 framing. Your long YouTube upload stays in 16:9.
Resizing means changing the shape of the video while keeping the subject in view. A badly cropped clip cuts off faces and loses viewers in the first second. Check every version before you export it.
Invideo Editor lets you set up each clip for the platform you are posting to, such as YouTube, Instagram, or TikTok. Work from your longest cut first, then create vertical versions from the same project. This keeps every version in one place.
LinkedIn is flexible. Test both vertical and landscape versions of the same clip. Compare how each one performs, then use the better format for future posts.
Step 3: Rewrite the Hook and Caption for Each Platform
Do not paste the same caption everywhere. Each platform has a different reader, and the first line decides whether they keep reading.
On Instagram, open with a short hook that creates curiosity. Add on-screen text so the clip works without sound. Keep the caption brief and end with a clear next step, such as a question or a save prompt.
On YouTube, write a title that matches what people search for. Add a description with context, timestamps, and a link to related content. Titles that state the benefit clearly tend to earn more clicks.
On LinkedIn, lead with the insight in the first line. Then add two or three sentences that explain why it matters. Avoid hashtag clutter, and keep the tone natural.
Captions matter on every platform. Many people watch with the sound off, so burned-in captions improve reach and make your content easier to follow.
Step 4: Repurpose Beyond Video
Your pillar video is also a source of text. Use the transcript to create more formats without recording anything new.
- A LinkedIn text post built from the single best insight
- An Instagram carousel summarizing five key points
- A short blog post or newsletter section
- A pull quote graphic for stories
Each of these formats reaches a different kind of reader. Some people prefer to watch, others prefer to skim. Covering both gives your idea more chances to land.
If more than one person works on your content, shared editing helps. Invideo Editor supports collaborative editing on one timeline, so a marketer and a designer can work on the same project. Version history lets you go back if a change does not work out.
Step 5: Schedule, Track, and Learn
Do not publish everything on the same day. Stagger the posts across the week so each platform gets fresh content. Your audience also sees the idea more than once, which helps it stick.
Track a few simple numbers for each platform: views, watch time, saves, and comments. Use each platform’s built-in insights to compare clips and hooks. Look for patterns. Maybe short, direct tips beat long stories, or maybe questions in the opening line drive more comments.
Use those results to choose your next pillar topic. Over time, you will learn which ideas your audience wants more of.
A Simple Weekly Workflow
Here is one way to organize the work so it stays manageable.
- Day 1: Record the pillar video.
- Day 2: Select clips, cut them, and resize them for vertical platforms.
- Day 3: Write captions and hooks for each platform.
- Days 4 to 7: Publish one asset per day, mixing clips, carousels, and text posts.
This rhythm gives you daily content from a single recording session. Adjust the schedule to fit your team size and posting goals.
Common Mistakes to Avoid
Posting the identical file everywhere is the most common mistake. Ignoring aspect ratio is the second, since a stretched or letterboxed clip looks unprofessional. Skipping captions is the third.
Many teams also repurpose weak content. A weak original only produces weak copies, so start with a strong pillar piece. Finally, avoid publishing every clip at once. Spacing posts out keeps your channels active and gives each clip room to perform.